This guide walks you through setting up a Vintage Story server using the files bundled with the game, and then sharing it to the internet using playit.
Ways you can host: Hosting your own game server
Official Server Guide: Setting up a Multiplayer Server
Server Configuration: Server Config
Requirements
- Vintage Story
- .NET 8.0.13 Desktop Runtime (comes with installer)
Locate the server files
The dedicated server is included with the Vintage Story installation. Navigate to the following path for your operating system, or use the run dialogue window and paste these values
Server Executable
%AppData%\Vintagestory\VintagestoryServer.exe
Server Config File
%AppData%\VintagestoryData\serverconfig.json
Server Setup
Open the server executable mentioned before, and wait for it to fully start
By default, the server has a whitelist enabled. To whitelist a player, run this in the server console:
/whitelist add <username>If you would like to disable the whitelist, you can run this command:
/whitelist off
Tunnel Setup
This server uses
TCP 42420, which means that Playit Premium is required.
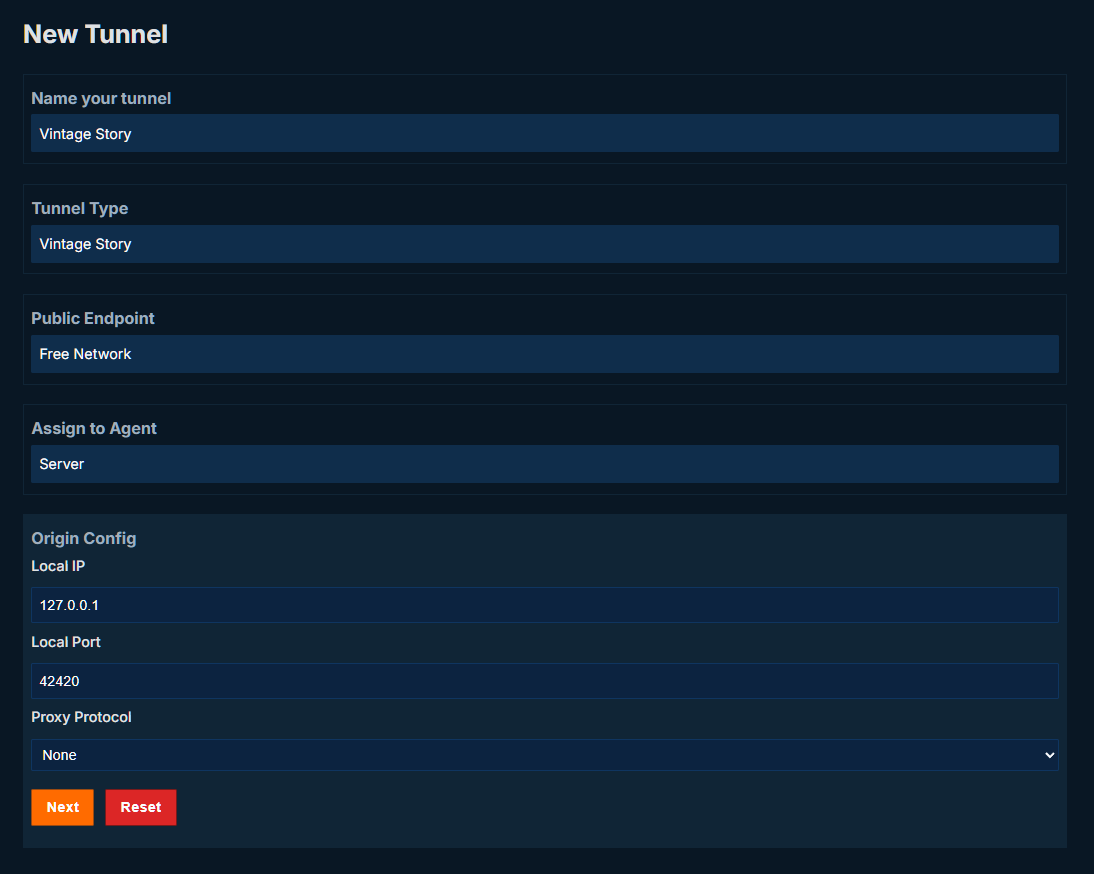
Create a new tunnel with the following settings:
Tunnel Type: Vintage Story
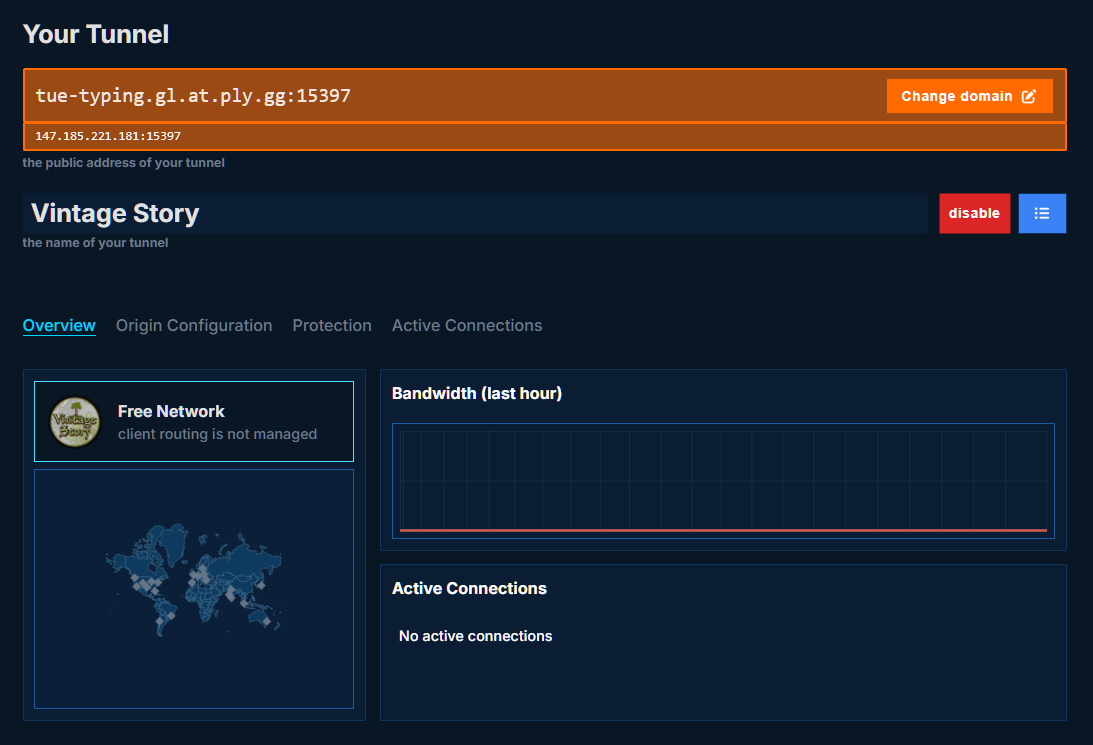
After your tunnel is created, you can connect using the IP address and port given by playit:
Joining the server
To do this, all we need to do is give the server a name, and enter the connection information from before.
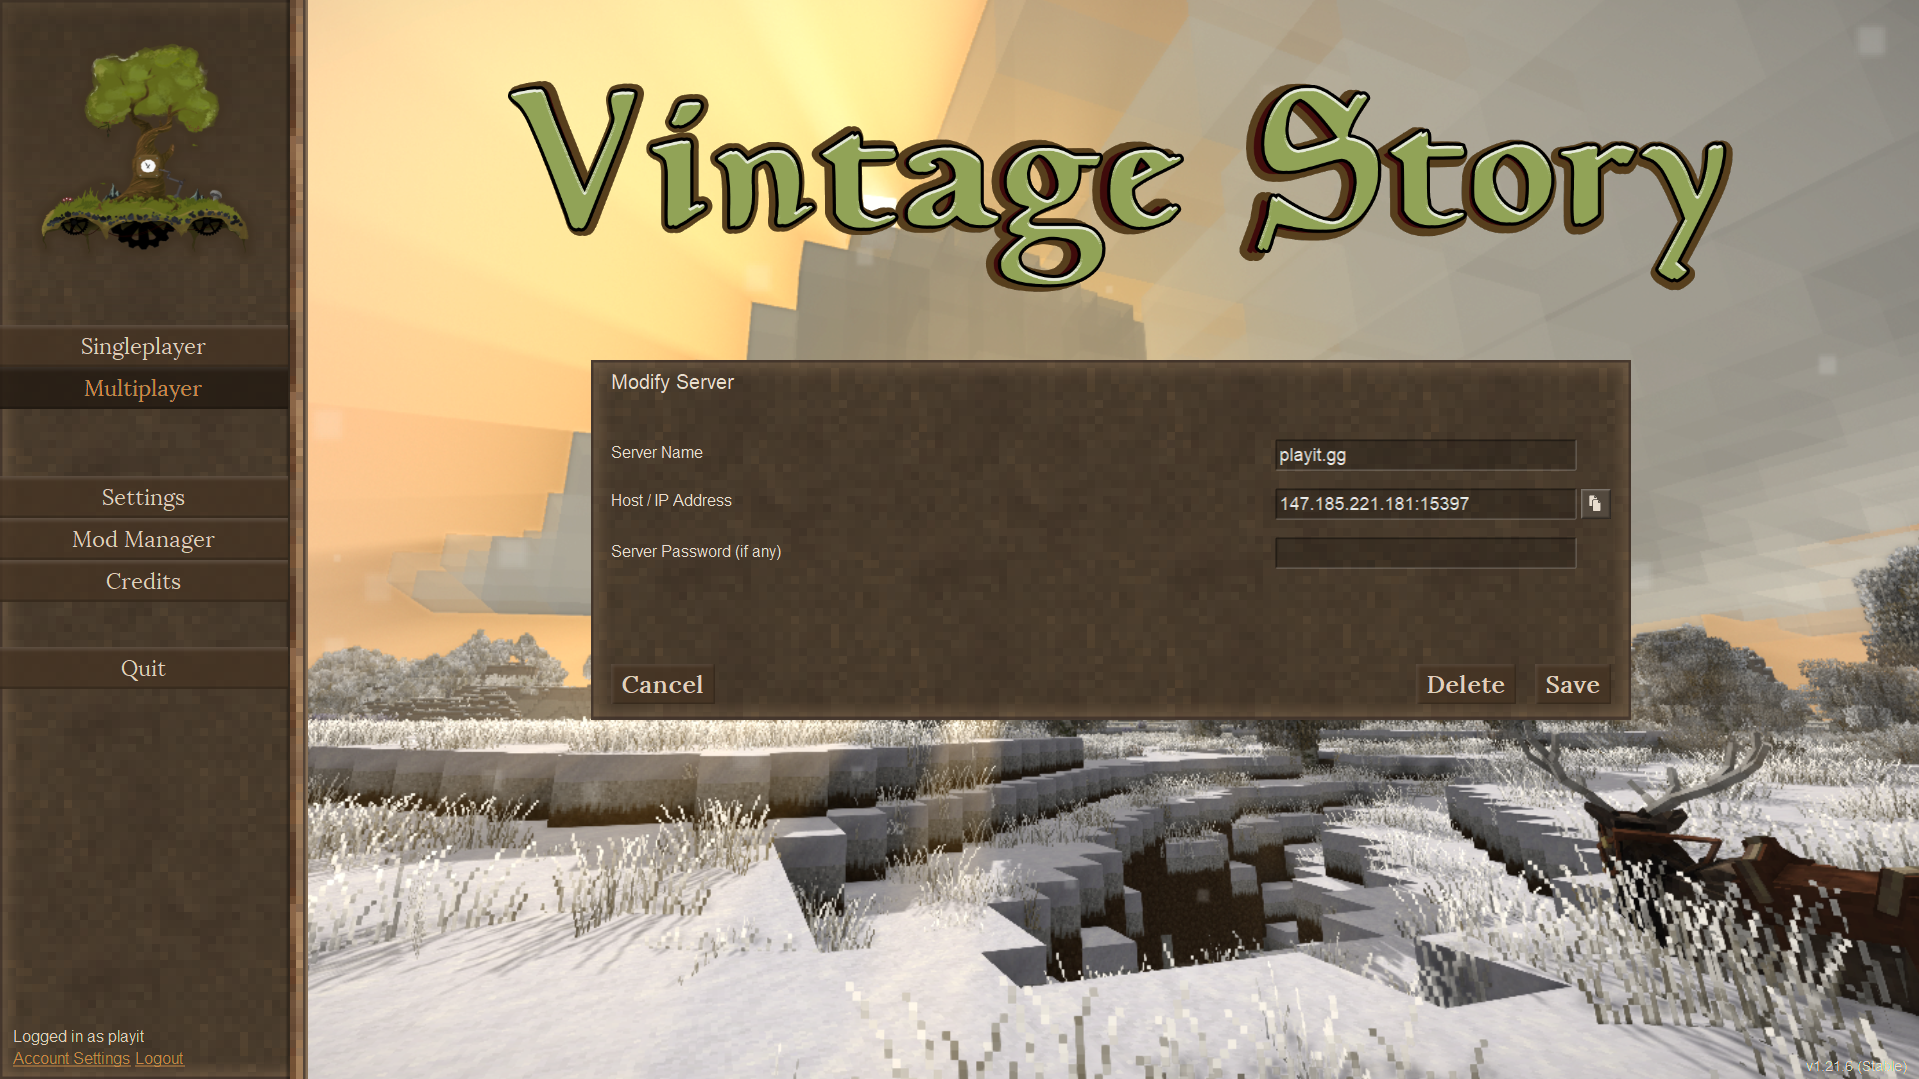
Alternatively, you can use the domain and port if you prefer that.
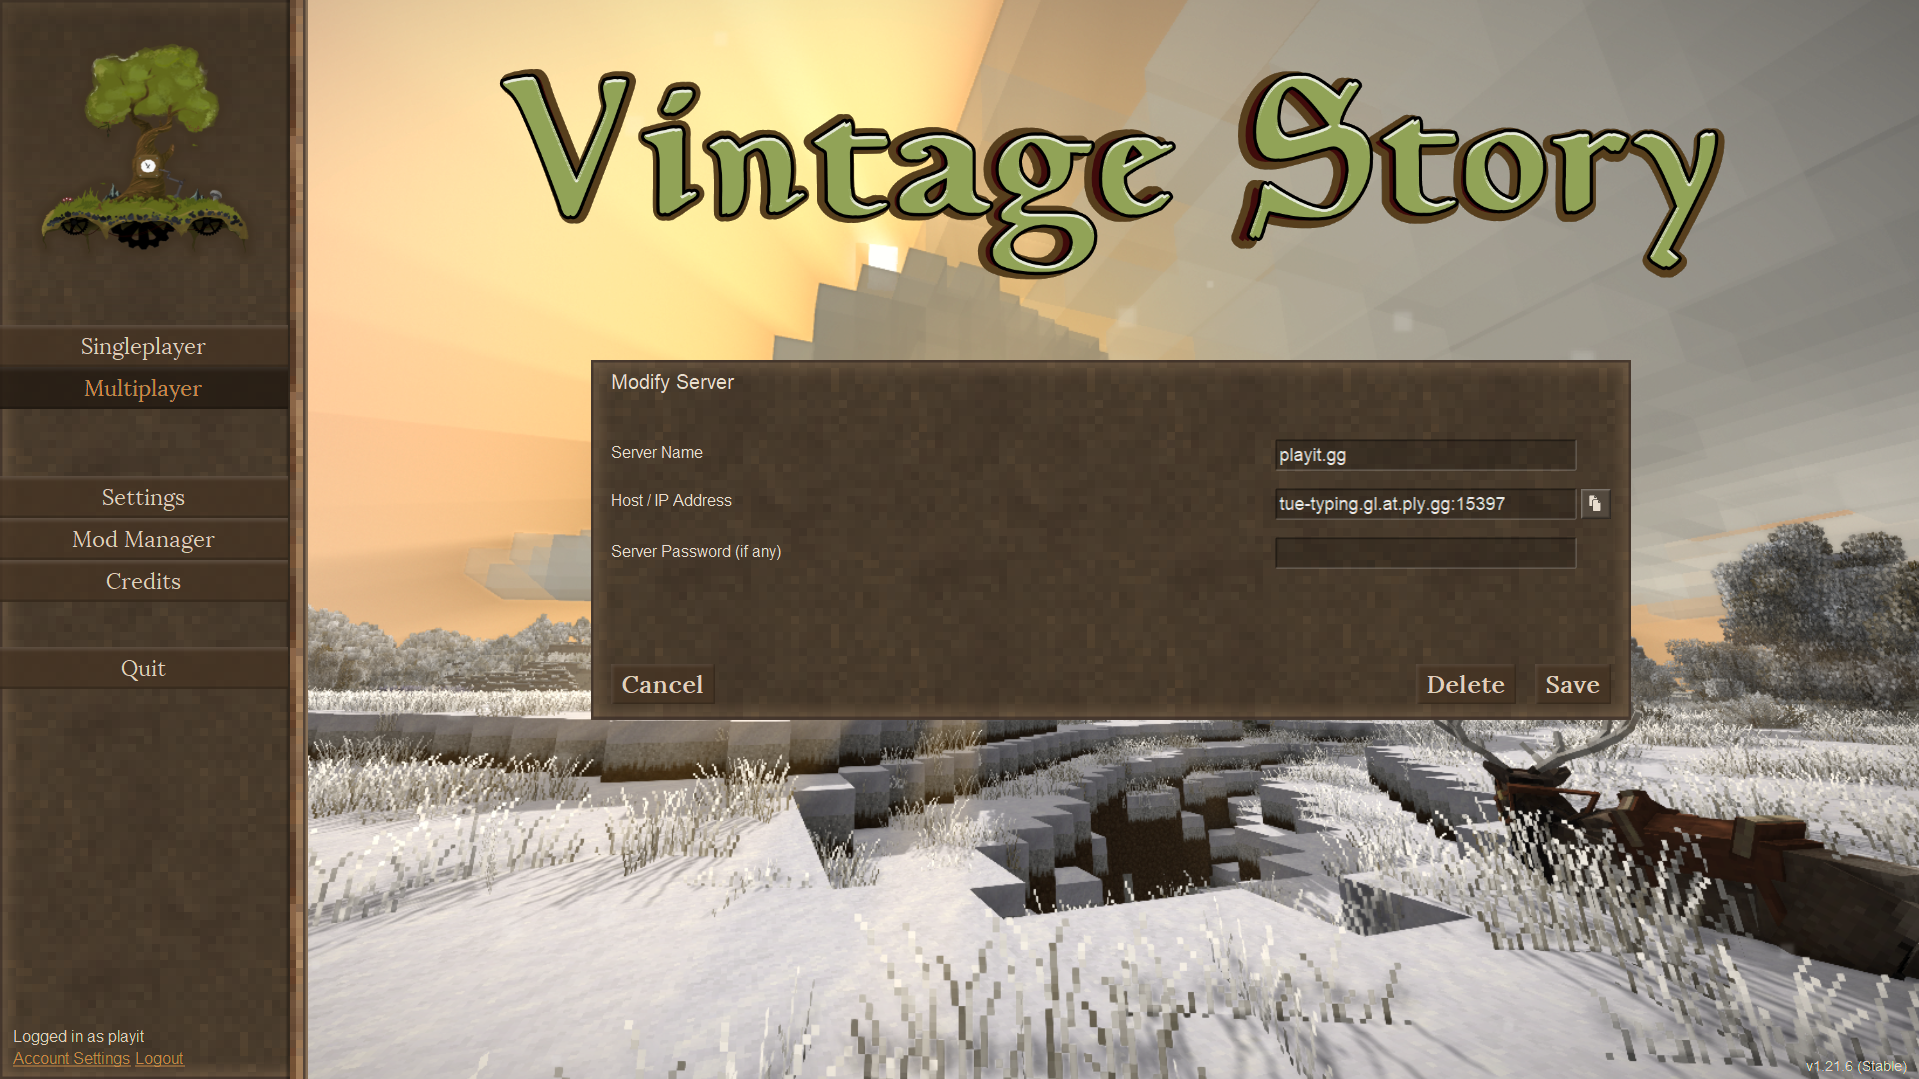
Click Save, and click on the server we just created. You should see verbose progress updates as you’re loading in.